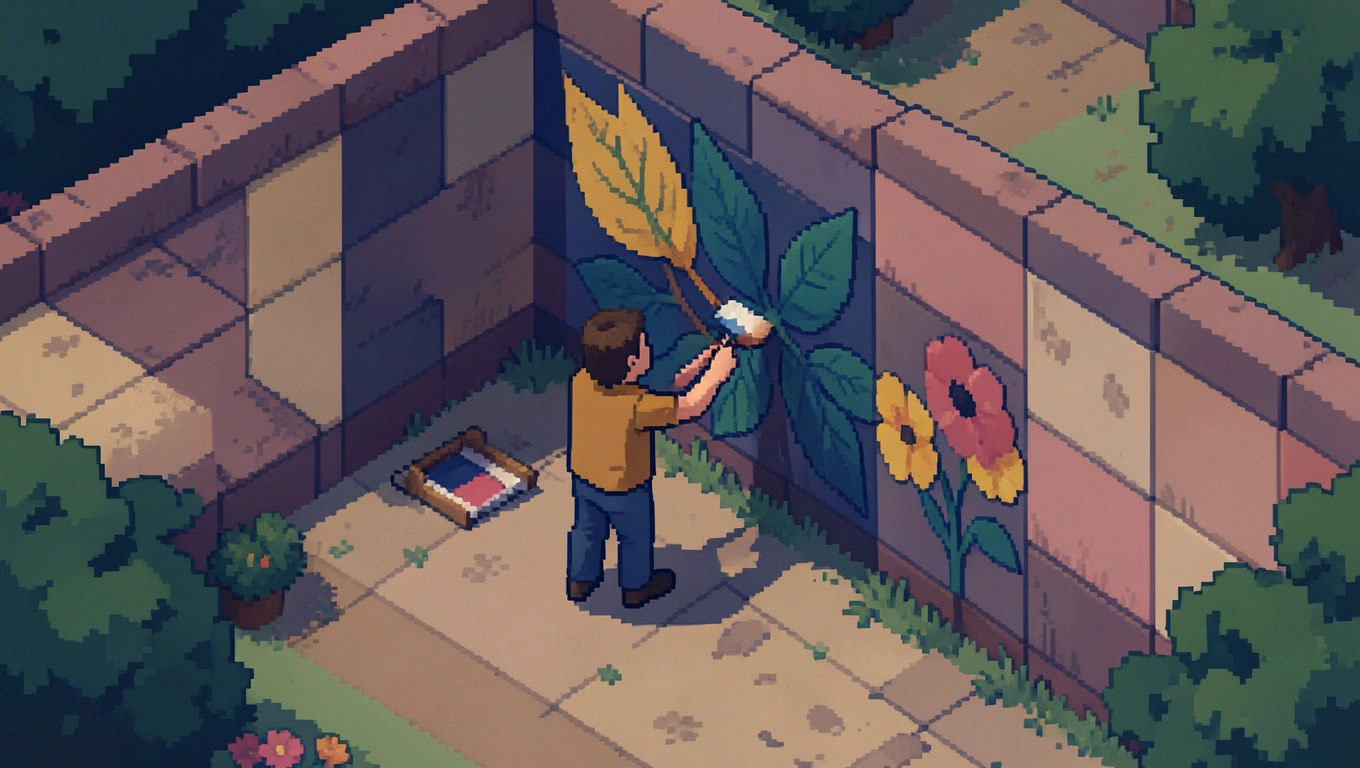
A blank garden wall isn’t just an empty canvas – it’s an opportunity to turn your outdoor space into something memorable. Whether you’re looking at a tired brick fence, a plain concrete boundary, or a bare wooden structure, painting a mural can inject personality, color, and visual interest into your garden year-round. The process might seem daunting if you’ve never tackled anything like this before, but breaking it down into manageable steps makes it far more approachable. From understanding how light plays across your wall to choosing colors that work with your existing landscape, there’s a logic to creating an outdoor mural that lasts.
The beauty of a garden mural lies in its permanence and its ability to evolve. Unlike seasonal plantings that come and go, a well-executed wall painting becomes a fixture that shifts throughout the day as sunlight moves, casting different shadows and bringing out various tones. It’s part art project, part home improvement, and entirely personal.
Quick Takeaways
- Observe light patterns on your wall throughout the day before choosing colors
- Clean, dry, and prime the surface properly for paint adhesion and longevity
- Stick to three or four dominant colors with minimal accent shades
- Start with a smaller wall if you’re new to mural painting
Understanding Your Wall and Its Light
Before you pick up a brush or even sketch a design, spend time observing your wall. Light changes everything when it comes to outdoor painting. A wall that receives full morning sun will show colors differently than one bathed in afternoon shade. Walk past the wall at different times – early morning, midday, late afternoon, even twilight if you have outdoor lighting. Notice which areas stay bright longest and which fall into shadow first.
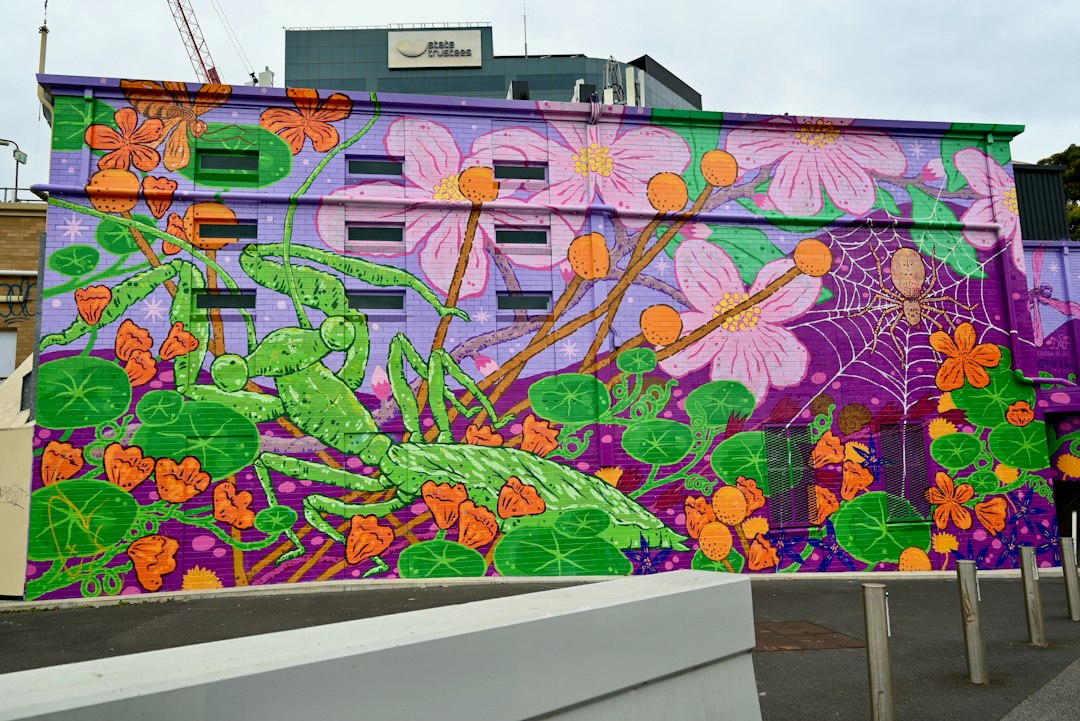
This observation period isn’t just about aesthetics. It’s practical information that will guide your color choices and help you understand how your finished mural will actually look when you’re using the space. A design that looks stunning at noon might disappear into muddy tones by evening if you haven’t accounted for changing light. According to guidance on creating outdoor murals, observing how light hits your wall throughout the day should directly inform your color selections.
While you’re studying the light, also consider the wall’s relationship to the rest of your garden. Does it back onto a flower bed? Is it visible from inside your home? Will people walk right past it or view it from a distance? These factors influence not just what you paint, but the scale and complexity of your design.
Preparing the Surface Properly
Surface preparation makes or breaks an exterior mural. Skip this step or rush through it, and you’ll watch your artwork peel, crack, or fade within months. The wall needs to be clean, dry, and structurally sound before any paint touches it. Start by removing loose paint with a scraper or wire brush, working methodically across the entire surface.
For outdoor walls, a power washer becomes your best friend during the cleaning phase. It strips away dirt, grime, mildew, and loose material far more effectively than scrubbing by hand. If you don’t have access to a power washer, a stiff brush with a degreaser or strong cleaning solution will work, though it takes longer. The key is thorough removal of anything that might prevent paint from bonding directly to the wall material.
🤨 The Curious Bit
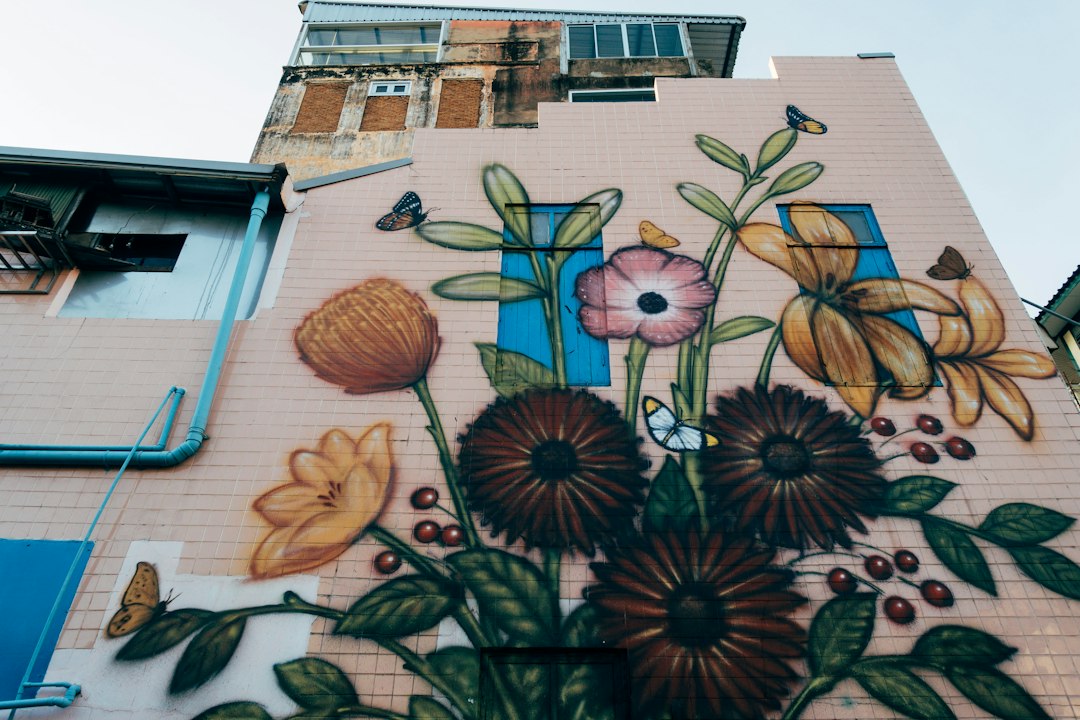
If flowers struggle to grow year-round in your climate, a garden mural can provide those bursts of color during fall and winter when your beds lie dormant.
After cleaning, let the wall dry completely. This might mean waiting days, not hours, especially if you’ve used a lot of water or if the weather is humid. Once dry, fill any cracks or holes with appropriate filler, sand the surface smooth, and apply a coat of primer. Primer isn’t optional for exterior work – it creates the adhesion layer that helps your mural colors stick and appear vibrant rather than dull or patchy. Choose a primer designed for outdoor use and the specific material of your wall, whether that’s wood, brick, concrete, or rendered masonry.
Planning Your Design and Color Palette
With a prepared wall, you can turn your attention to the actual design. Start by sketching your idea to scale, considering the wall’s proportions and any architectural features like windows, vents, or changes in texture. If you’re new to mural painting, beginning with a smaller project helps you develop technique without committing to covering a massive surface. A section of fence or a small boundary wall works perfectly as a starter canvas.
Nature-inspired designs remain popular for garden murals because they complement existing landscaping naturally. Botanical murals featuring oversized leaves, flowers, or climbing vines extend the garden theme onto vertical surfaces. Geometric patterns offer a modern alternative with clean lines and contemporary appeal. Some people prefer cultural or historical themes that celebrate heritage or tell stories through traditional folk art or symbolic imagery.
Color selection deserves careful thought. Stick to two to four colors that complement each other – more than that and the design can become chaotic or difficult to execute cleanly. Bright shades bring energy and make a statement, while soft tones create calm and blend more subtly with greenery. The smart approach is testing colors first by painting small sample squares on your wall and observing them in different lighting conditions over a day or two.
Ideally, use a maximum of three or four dominant colors and two to three accent shades. This keeps the palette cohesive without being monotonous. Consider incorporating colors from inside your home to create visual flow between indoor and outdoor spaces. If your living room features terracotta and sage green, echoing those tones in your garden mural ties the spaces together psychologically, making your home feel more connected to its surroundings.
Executing the Painting Process
When you’re ready to paint, organization makes the job smoother. Lay out all your paints, brushes, rollers, painter’s tape, and drop cloths before you start. Choose a warm, dry day – painting a damp wall extends drying time significantly and can affect how paint adheres and cures.
Work on one section at a time rather than jumping around the wall. This approach keeps you focused and lets you maintain consistent technique within each area. Use a roller for larger sections to achieve even coverage quickly, then switch to brushes for edges, details, and transitions between colors. Apply paint with even strokes, and plan on two coats for rich, bold color. Let each section dry completely before moving to the next or adding a second coat.
Painter’s tape helps create clean lines between colors, especially for geometric designs. Apply it carefully, pressing down the edges to prevent paint from bleeding underneath. When everything is dry, peel off the tape slowly at an angle. Make small touch-ups with a fine brush as needed – no mural emerges perfectly without a few corrections.
The step-by-step process of painting murals emphasizes patience at this stage. Rushing leads to drips, uneven coverage, and mistakes that require significant correction later. Taking breaks to step back and view your progress from different angles helps you catch proportion issues or color problems while they’re still easy to fix.
To sum things up
Transforming a garden wall with a mural is less about artistic genius and more about careful preparation, thoughtful planning, and steady execution. The walls that surround our outdoor spaces often get overlooked, treated as purely functional boundaries rather than opportunities for expression. Yet a well-painted mural can redefine how a garden feels, adding depth to small spaces, providing color when plants can’t, and becoming a conversation piece that reflects your personality.
The technical aspects – surface prep, primer application, color testing – might not sound exciting, but they’re what separate murals that last for years from those that fade or peel within a season or two. Starting small if you’re uncertain, observing light patterns before committing to colors, and maintaining realistic expectations about your skill level all contribute to a project you’ll actually finish and enjoy. The goal isn’t perfection. It’s creating something personal that makes you smile when you step into your garden, something that evolves with the light and seasons, a permanent feature that turns a blank boundary into a piece of living art.
Questions People Ask
What type of paint should I use for an outdoor garden mural?
Use exterior acrylic paint specifically formulated for outdoor use. These paints resist fading from UV exposure, handle temperature fluctuations, and repel moisture better than interior paints. Look for products labeled for masonry, wood, or whatever material your wall is made from. Quality exterior paint costs more upfront but extends the life of your mural significantly compared to cheaper alternatives that might peel or fade within months.
How long does it take to paint a garden mural?
Timeline depends on wall size, design complexity, and your experience level. A simple geometric design on a small fence section might take a weekend including prep work. A detailed botanical mural covering a large wall could require several weekends spread across weeks to allow for proper drying between coats. Factor in surface preparation time, which often takes longer than the actual painting, and weather – you need consecutive dry days to complete sections properly.
Do I need artistic skills to paint a garden mural?
Not necessarily. While freehand painting requires some artistic ability, many successful garden murals use projection methods, stencils, or grid transfer techniques to outline designs accurately. Start with simpler geometric patterns or large-scale botanical shapes that forgive imperfect edges. Practice on paper or scrap material first. Many people discover they’re more capable than they thought once they try, and imperfections often add character to outdoor art rather than detracting from it.
How do I protect my finished mural from weather damage?
Apply a clear exterior sealer or varnish designed for the paint type you used once everything is completely dry and cured. This adds a protective layer against rain, sun, and temperature swings. Check the mural annually for any areas needing touch-up – catching small problems early prevents larger repairs later. In harsh climates, expect to refresh sections every few years. Proper surface preparation and quality exterior paint provide the foundation, but maintenance keeps your mural looking vibrant long-term.