Baking with children can be one of those magical kitchen moments where flour dust catches the light and everyone’s grinning, or it can turn into a cleanup marathon that has you questioning every life choice. The difference usually comes down to a few smart moves before anyone cracks an egg. You don’t need to ban kids from the counter or resign yourself to scraping dried dough off the ceiling. With the right setup and a handful of practical tricks, you can let little hands measure, stir, and sprinkle while keeping the chaos firmly in check. The secret isn’t eliminating mess entirely – it’s containing it so the fun stays front and center.
Parents who bake regularly with kids know the drill: enthusiasm is high, motor skills are developing, and gravity seems to work overtime. But that doesn’t mean you’re stuck choosing between a sterile, no-touch experience and a kitchen that looks like a disaster zone. A few deliberate steps make all the difference, and most of them take less time than wiping batter off the floor later would. Let’s walk through what actually works when you want the joy without the hour-long scrub-down afterward.
Quick Takeaways
- Set up a contained workspace with a rimmed baking sheet or tray underneath bowls
- Pre-measure sticky and powdery ingredients into small containers before kids arrive
- Choose no-knead, one-bowl recipes that minimize steps and cleanup surfaces
- Keep a damp cloth within arm’s reach for instant spill management
Set Your Station Before Anyone Arrives
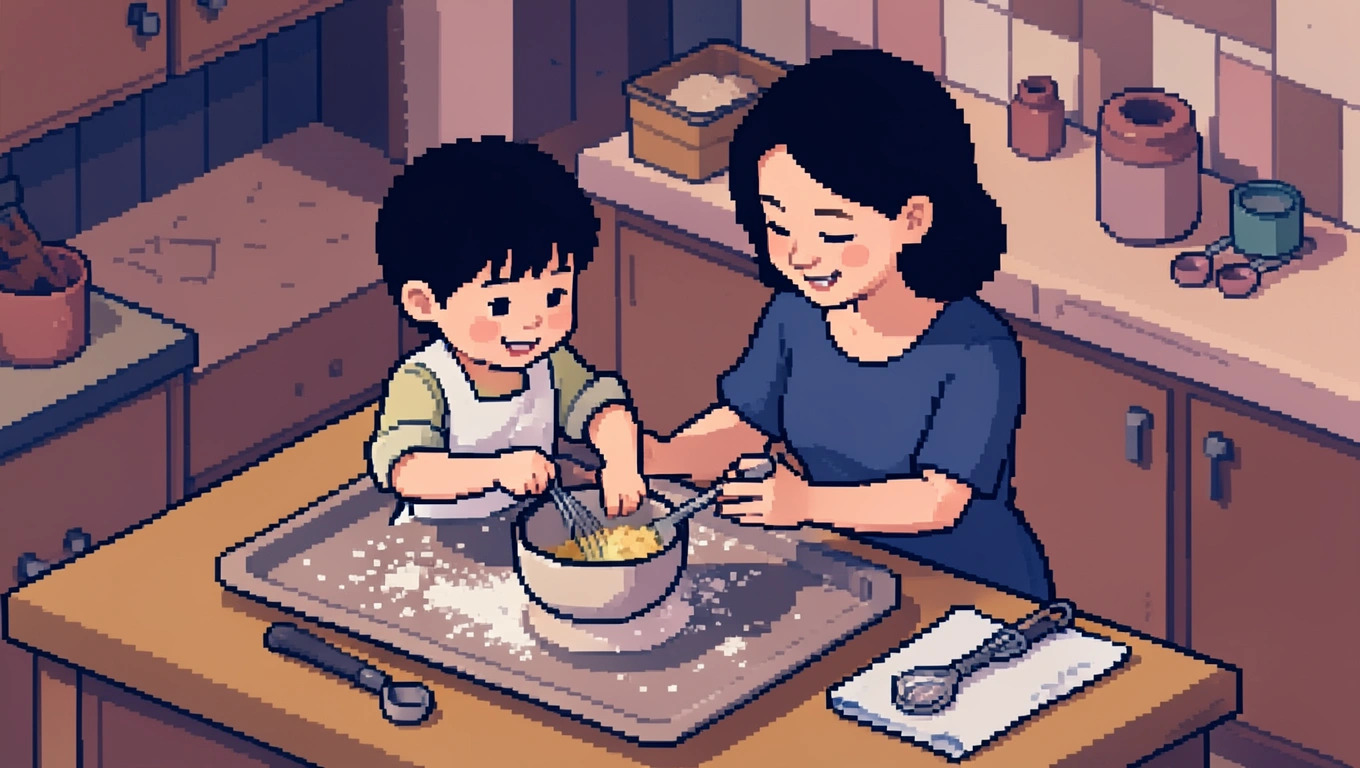
The biggest mess-savers happen before your child even touches a mixing bowl. Think of it as staging a small theater production: you’re building a set that makes success almost inevitable. Start with a large rimmed baking sheet or a shallow tray placed directly under your main mixing area. This acts as a splash zone that catches stray flour, dropped eggshells, and the inevitable sugar cascade when small hands tip a measuring cup too enthusiastically. You can slide the whole tray into the sink later and deal with it in one go instead of hunting down rogue ingredients across three square feet of countertop.
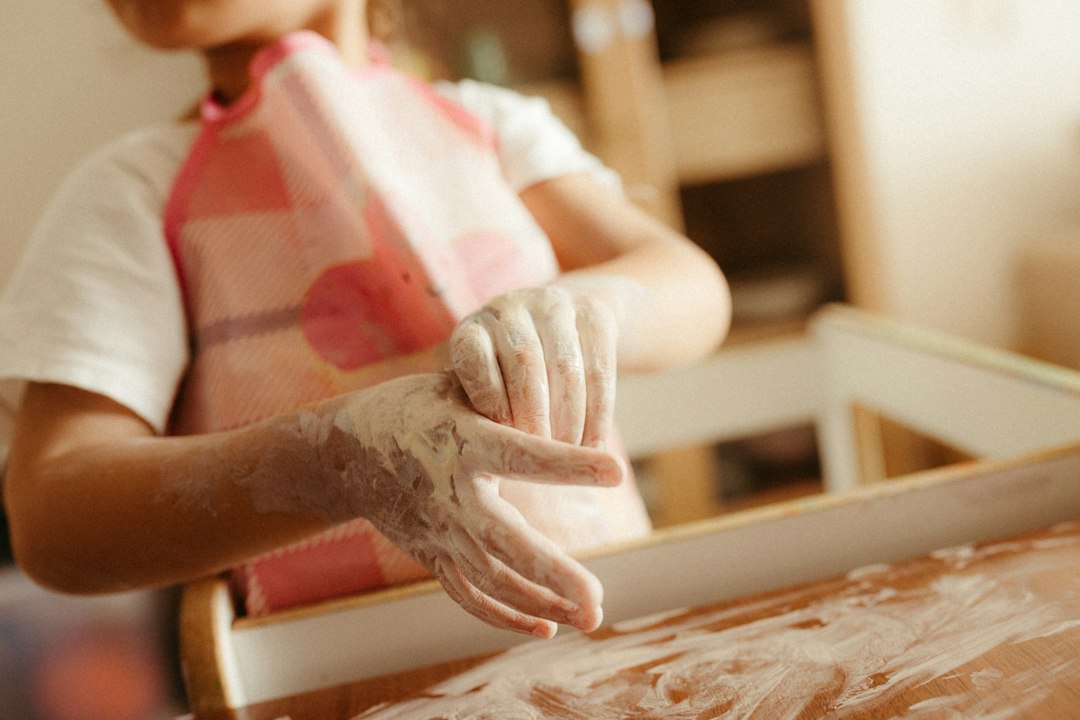
Next, gather everything you’ll need and place it within easy reach but not in the danger zone where elbows knock things over. Pre-measure ingredients into small bowls or cups, especially anything powdery or sticky. A toddler dumping pre-measured flour from a small container into a bowl creates far less fallout than that same toddler wielding a five-pound bag. This step also speeds up the actual baking, which matters when attention spans are short. Lay out a damp washcloth or two near the workspace, not tucked in a drawer. You’ll use them constantly, and having them right there means you can swipe a spill the second it happens rather than watching it migrate across the counter while you search for paper towels.
Aprons help, but so do rolled sleeves. Long sleeves drag through batter and become accidental cleanup tools in the worst way. If your child’s wearing something with cuffs, roll them past the elbow. Consider a smock-style apron that covers the front and sides rather than a simple bib style. Some parents swear by setting up the baking station at a height where kids can stand on a sturdy stool with good footing – wobbly balancing acts lead to flailing arms and tipped bowls.
Pick Recipes That Limit the Damage
Not all recipes are created equal when tiny humans are involved. You want projects that keep steps simple, minimize the number of bowls, and avoid ingredients that turn into glue on contact with air. One-bowl recipes are your best friend here. The fewer vessels you’re juggling, the fewer surfaces collect batter and require scrubbing. Simple sugar cookie recipes that skip the chilling step or the need for a stand mixer work beautifully because everything happens in a single bowl and you move straight to shaping.
🤨 The Curious Bit
Letting kids experience cooking mess during early childhood actually supports sensory development and helps them become more comfortable with different textures, which can reduce picky eating habits later on.
No-knead doughs are another smart choice. Traditional bread or cookie doughs that require extended kneading give little hands more time to coat themselves, the counter, and occasionally the family dog in sticky residue. Recipes where you stir, scoop, and bake skip that phase entirely. Muffins, drop cookies, and quick breads fall into this category. Brownies from scratch are surprisingly tidy – you melt, you mix, you pour. Compare that to rolled sugar cookies where flour covers every surface during the rolling and cutting process, and the difference is clear.
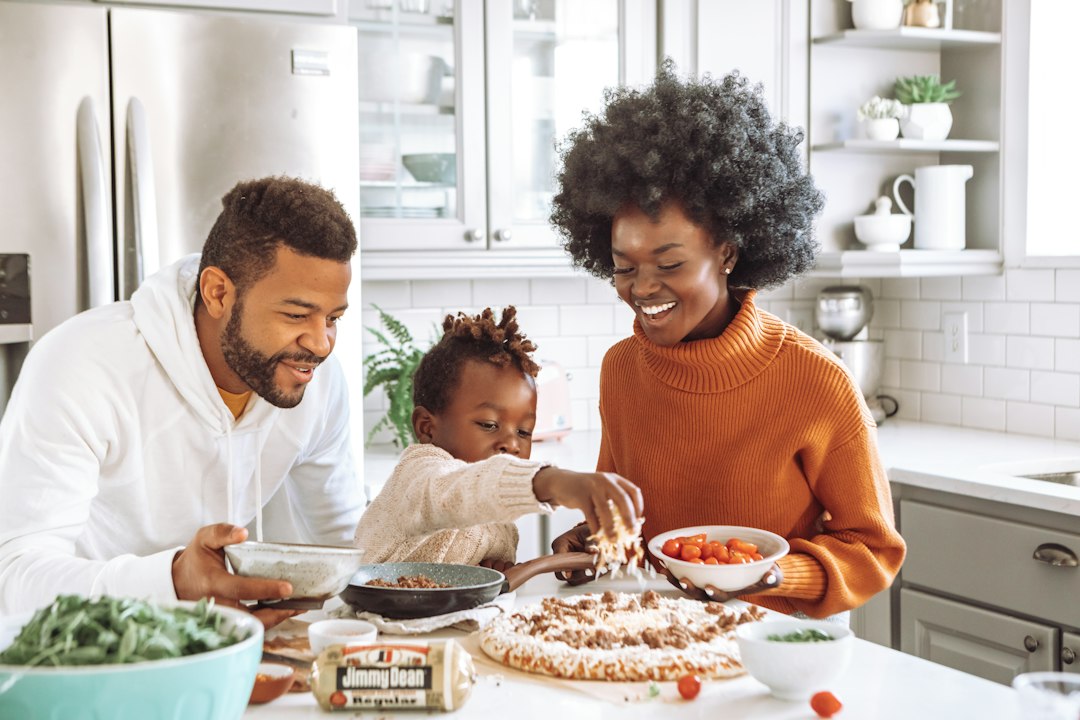
Avoid recipes with multiple temperature-sensitive steps or ingredients that seize up if they sit too long. Melted chocolate that needs to be folded in at precisely the right moment? That’s a recipe for stress when you’re also managing a four-year-old who wants to crack another egg. Save the fancy techniques for solo baking time and stick with forgiving formulas that tolerate a bit of overmixing or a delayed oven preheat. Age-appropriate recipe collections often highlight these more resilient options, grouping them by skill level so you can match the project to your child’s abilities.
Master the Art of Controlled Chaos
Even with the best prep, spills will happen. The goal is to catch them early and keep them from spreading. This is where that damp cloth you set out earlier earns its keep. The second you spot a dusting of flour or a drip of batter, wipe it. Don’t wait until you finish the current step or until the batch goes in the oven. Wet ingredients dry into cement, and powdery ingredients migrate on the breeze or under moving hands. A quick swipe in the moment takes three seconds; chiseling dried egg off a cabinet door later takes three minutes and a scraper.
Teach kids to work over the bowl or the tray. It sounds obvious, but small children don’t instinctively understand containment zones. Show them how to hold the measuring cup directly above the mixing bowl when they pour, not off to the side while they’re watching the dog walk by. Demonstrate scooping from a flour container while hovering right over the bowl, not across the counter. These tiny spatial adjustments cut spills dramatically without feeling like you’re barking orders every ten seconds.
Give each child a specific job rather than having multiple hands in the same bowl. One person cracks eggs into a small dish (which you can inspect for shell fragments before they hit the batter). Another person measures dry ingredients. Someone else does the stirring. This assembly-line approach not only reduces collisions and tip-overs but also makes kids feel more ownership over their particular task. They’re more careful when they have a clear role instead of all reaching for the same whisk.
Keep the stand mixer locked away for now, or at least keep little fingers far from it. Hand mixing with a wooden spoon or a whisk gives you total control and eliminates the splatter effect that happens when someone bumps the mixer speed from low to high. If your recipe absolutely demands electric mixing, you handle that step while kids watch from a safe distance, then hand the bowl back for the next phase.
Cleanup as You Go
This might sound like extra work, but it saves time and sanity. As soon as a measuring cup or bowl is empty and no longer needed, rinse it or toss it in the sink. Dried batter is exponentially harder to remove than wet batter, and an empty cup sitting on the counter is an invitation for a curious hand to knock it onto the floor. Fill your sink with warm soapy water before you start, and slide used tools into it as you finish with them. By the time your cookies are in the oven, half the cleanup is already soaking.
Parchment paper and silicone baking mats are miracle workers. They line your pans, prevent sticking, and give you a disposable or easily washable surface instead of a crusty baking sheet that needs serious scrubbing. Spoon cookie dough directly onto parchment, slide the whole sheet onto the pan, bake, and then peel off the parchment when you’re done. The pan underneath stays virtually clean. Use parchment under your mixing area too if you want an extra disposable layer – you can gather it up and toss it when you’re finished, taking a lot of flour dust with it.
If you’re rolling dough, do it between two sheets of parchment or wax paper instead of flouring a countertop. This keeps the flour contained and makes the rolled dough easier to transfer. When you’re done, you can fold up the paper and shake the excess flour into the trash rather than wiping it off every surface.
To sum things up
Baking with children doesn’t have to end in a kitchen that looks like a flour bomb went off. The difference comes down to planning your setup, choosing recipes that work with short attention spans and developing motor skills, and managing spills as they happen instead of later. You’re not aiming for a sterile cooking lab – a bit of mess is part of the experience and signals that actual learning and fun are taking place. But there’s a wide gap between a sprinkle of flour on the counter and batter dripping down the cabinet fronts, and you can stay firmly on the manageable side of that line.
The real reward isn’t just the cookies or muffins you pull out of the oven. It’s watching a child figure out how ingredients combine, seeing their pride when they taste something they helped create, and building a memory that doesn’t include you spending an hour scraping dough off the backsplash. Those moments happen when you’re not stressed about the cleanup, and that’s entirely within your control with a few smart moves upfront.
Questions People Ask
What’s the best age to start baking with kids?
Children as young as two can participate in very simple tasks like stirring dry ingredients in a large bowl or pressing cookie cutters into pre-rolled dough. Around age three to four, they can pour pre-measured ingredients, crack eggs with supervision, and help shape dough. By five or six, many kids can measure ingredients with guidance, follow simple recipe steps, and operate basic tools like hand mixers under close watch. The key is matching the task to their fine motor skills and attention span rather than waiting for a magic age.
How do I keep flour from going everywhere?
Pre-measure flour into a container with a pour spout or a measuring cup, and have your child pour it slowly while holding the container low over the mixing bowl. Work inside a rimmed baking sheet or large tray that catches spills. Avoid letting kids scoop directly from a large flour bag, which creates dust clouds and overflows. If you’re kneading or rolling dough, use parchment paper to contain the flour rather than dusting it directly on the counter, and show kids how to pat rather than toss flour.
What recipes are actually toddler-friendly and low-mess?
Drop cookies, muffins, and no-knead quick breads top the list because they involve mixing in one bowl and scooping directly onto a pan. Simple banana bread works well since overripe bananas mash easily and the batter is forgiving. Brownies from scratch are surprisingly tidy – melt, mix, pour, done. Avoid recipes that require rolling pins, multiple temperature-sensitive steps, or ingredients that need to be folded in gently. Anything you can make in a single bowl and portion with a spoon keeps the chaos contained.
Should I let my child crack eggs directly into the batter?
Crack eggs into a small separate bowl first, especially with younger kids. This lets you fish out any shell fragments before they mix into the batter, and if a whole egg ends up on the floor instead of in the bowl, you haven’t contaminated your entire batch. Once you’ve checked the egg, pour it from the small bowl into the main mixing bowl. This extra step adds five seconds and prevents the frustration of ruined batter or fishing tiny shell pieces out of thick dough.